Showing posts with label montessori. Show all posts

Tuesday, February 28, 2017

Nests and Dens with Preschoolers

By Mary Van Dyke

It is fun to study bird nests and build ‘nests or dens’ with preschoolers. Remember it is not legal to collect birds’ nests whether or not they are still being used (or reused) by birds. Over the years I have simply found one or two old Robin and Cardinal bird nests in cut-down trees or fallen on the ground. For show n' tell I bring last year's paperwasp nest, a log-cabin birdhouse as well as pine-needle baskets and acorn cap nests with clay eggs made by my daughter.

Water Vole Card, Robin's Nest, Log Cabin Birdhouse,
Acorn Cap Nest, Pineneedle Basket Nest, Paperwasp Nest

The preschoolers are interested to see the mud-building on a Robin nest and the oval nest-shape with wider breast-end and narrower tail-end. How did the parent birds make the nest? Can you imagine the parent birds (mostly the mother Robin) taking turns to sit on the eggs for two weeks or so while they keep their eggs warm in the nest until the baby birds hatch? It’s interesting to compare the Robin’s nest with the more loose arrangement of sticks in the Cardinal’s nest.


American Robin Facts: Characteristics, Life Cycle, Ecology
American Robin Nest with Eggs by L Birnbaum
from the Journey North American Robin website
Many twigs and small branches blew down in the school garden over the winter. We gather them up to tidy the grass. Why not build a larger nest or two together as a group for the stuffed animals and puppets: Squirrel, Cardinal, Robin, and Mouse?
Making a nest for all the animals

American Robin plush toy with sound

We gather together twigs and branches. With one group we decide to build individual animal nests, with other groups we discuss more and collectively design and build larger group-nests.
One construction is two-story and has a roof. Maybe the children can build a nest-shelter-den that is large enough for them too? How about keeping warm and making a pretend camp-fire. 


While outside we listen to the birds singing spring songs. I see a crow fly over with a twig in its beak. Building nests and dens is wonderful empowering fun cooperative play and learning for children of all ages. Today's garden activity building nests and dens reminds me of the shrub-playhouses, sheet-tents, olive and apple tree-climbing days of my childhood!


Some resources, literature and art connections for teaching Nests and Dens with pre-K and K
Mary Van Dyke is Garden Teacher at Brooksfield School, McLean VA

Friday, April 10, 2015

The Potato Project: Planting with Montessori (Part 2)

The Montessori class greets me singing the planting action-song to the tune of The Farmer's in the Dell.

This is the second session of The Potato Project so we quickly recap our introduction to potatoes (link to blog of the first session).

Today, I have brought in a trug of the seed potatoes that have been sitting on my window sill for a couple of weeks to sprout. This morning I cut each potato in half and the cut-side has already healed and is dry.
We have a selection of red potatoes, purple potatoes and white potatoes.

A student asks, "Why do we cut the potatoes in half?"
The answer is that we don't have to cut the potatoes. A new potato plant will grow from one whole potato tuber.  But if we cut them in half and each half has a shoot, then we might get two new plants instead of just one!


Vocabulary enrichment includes: trench, shovel, trowel, potato, worm, mugwort, weed, root, shoot. I have brought a wriggling worm and a pulled mugwort weed into the class in my trug basket to discuss before we go outside.

We go outside to plant the potatoes.

As well as rich vocabulary and potential for literacy in the garden, there is also lots of room for math in the garden.  I have already prepared two trenches. We divide the class into two groups. One half of the class weeds another bed that is full of mugwort and worms, while the other half plants their "seed potatoes" in the trench. I have calculated the numbers of potatoes per child and also the dimensions of the bed and spacing needs of the potato plants.


It is fun to dig about four inches or 10 centimeters (a K or pre-schooler's hand depth).
We look at the four inch line too on the trowels. Then plant the potato with cut-side down and shoots up. Cover the potato with a few inches of soil.


It is wet today so we don't need to water the newly planted potatoes.

Each group of students also weeds another bed where the first graders will soon plant more vegetables. The Montessori students find lots of worms and a white grub - and pulled out lots of mugwort weeds.


Next steps:
Each week the students can check the potatoes.

  • When will the potato plants sprout?
  • Do the potato plants need watering or weeding?
  • When the potato plants start to sprout leaves we can cover the shoots with soil to leave a few leaves above. The extra soil will keep the growing potato tubers covered underground.
  • Do we need to protect the potato plants from wildlife?


Resources:
Weed Identification for Schools by Mary Van Dyke, ebook to download and print

Preschool: The Planting Song
The Farmer plants the seeds
Hi, Ho and Cherry O
The Farmer plants the seeds


and repeat for other verses
The rain begins to fall
The sun begins to shine
The plants begin to grow
The buds all open up
The flowers smile at me

Click to find blog of the first session of The Potato Project 

Friday, March 20, 2015

The Potato Project: Planting Potatoes with Montessori

It is time (and later in the season than usual) to think "potatoes". It is snowing a little, although we are already past St Patrick's Day and today is the spring equinox.


This spring, the Montessori class are taking on potato planting, care, harvest and cooking as their outdoor learning project.

In the fall, I  identified a raised bed for planting close to the students' classroom. The bed is sunny and has water nearby. I enrich the soil with compost.


I initiate "The Potato Project" with two 45-minute class sessions over two weeks, and describe here how to run for a class of twenty, 3 - 5 year olds.
Please note that this activity can be adapted easily for other groups and ages.
  • Click on resources for printable version of these two sessions and higher grade VA SOL or NGSS-linked materials.
Session One: 45 mins: Indoors (can be end of March, around St Patrick's Day)

Introduction and Planning
"One Potato, Two Potatoes, Three Potatoes, Four..."
How many of the students have eaten potatoes?  How were they prepared and cooked?


We look at different kinds of "seed potatoes" and identify eyes, tubers, sprouts. Some of the potatoes are red, others yellow, some are purple.
We discuss that "seed potatoes" are not seeds from flowers, but small potatoes that are living with stored food in the tuber and will sprout to make another plant.
Potatoes are native to Mexico and South American mountain areas.
Potatoes in a market in La Paz, Bolivia
from Vegetables, p. 135 by Roger Phillips and Martyn Rix

Rock-ledge habitat of wild potato in Mexico
from Vegetables, p. 134 by Roger Phillips and Martyn Rix

And grow well in cooler parts of North America in Maine and Idaho - and around the world.
Potatoes growing in Maine
from Vegetables, p. 141 by Roger Phillips and Martyn Rix

The students put the "seed potatoes" on the window cill to sprout.
We'll leave the seed potatoes on the window cill to sprout more, and will plant them in the garden next week - on Day 7.
I ask the teacher Ms Kipperman, if she and the students can cut the seed potatoes in half on Day 6 and leave the potatoes to "heal", to air dry for the planting session next week.

We then read Two Old Potatoes and Me by John Coy. This beautiful book sets the scene for our expectations, the "hypothesis", for our potato cultivation and celebration.

Activity: Potato Printing
Preparation:It takes about an hour for me to cut 5 lbs of potatoes into various simple designs.
I do this in the morning before the class.


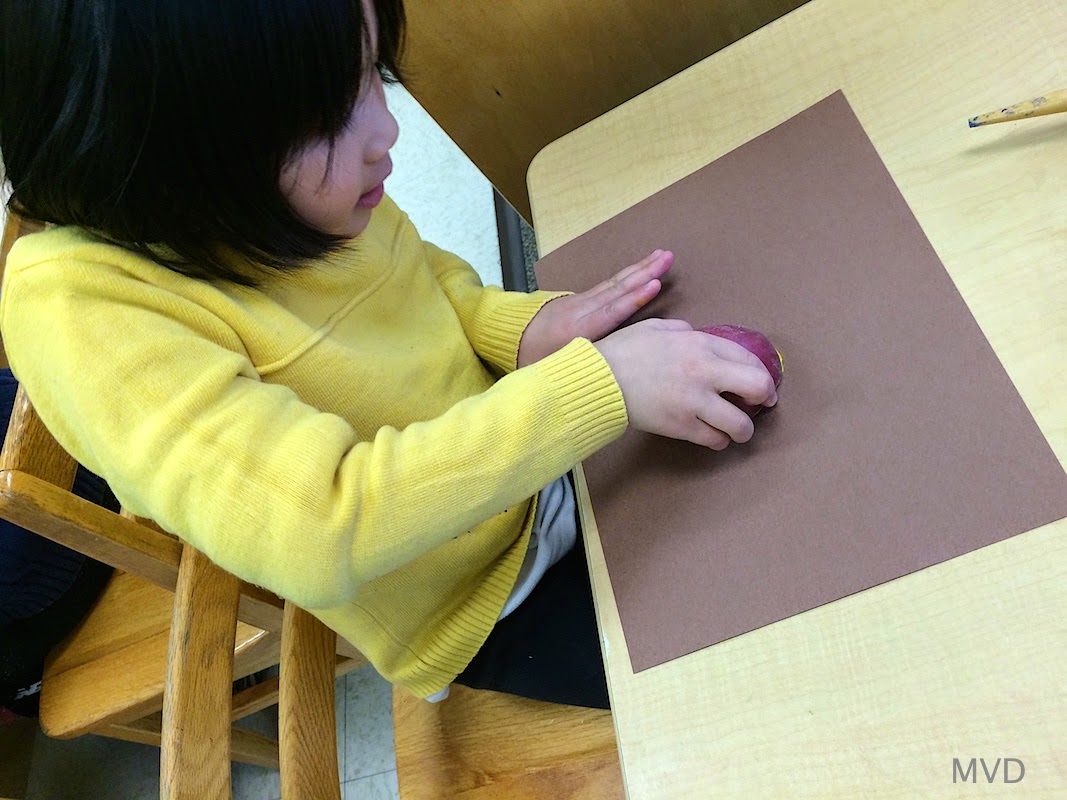
In the class, the teacher demonstrates to the students how to apply the paint thinly on the paint surface with a brush, or to dunk the potato in the paint and print. The printing with washable acrylic paints works well on ordinary construction paper.
The potato printing is a quick and fun activity for the students at the end of their school day.


This ends the Day 1, 45-minute session introducing The Potato Project.


Day 6: 
Teacher and students will take the "seed potatoes" that have been on the window sill and cut each potato in half (each half to have two or more eyes) and will leave the potatoes to dry "heal".

Next Week, Day 7,  Session Two: 45 mins: We will be mainly outdoors and
planting before spring break.

Then after spring break there will be class weekly care sessions until June:
  • Go out to potato bed, observe, journal and draw, look out for insects, and water well. 
  • Mound up earth around potato plants leaving some leaves visible. You may need to do this once a month during the growing season.
  • Adults may add compost (or fertilizer) to potatoes once or twice during growing season.
Harvest and Prepare Mashed Potatoes (June and/or September)
  • Class can harvest some or all of the potatoes in June, wash, prepare and serve "microwaved mashed potatoes" as a class celebration.
  • Or you can leave some potato plants to grow until school returns to harvest in September (as a "Legacy Garden" for next  year's class of Montessori students to harvest and enjoy!).

Resources: Link to detailed planning documents for the The Potato Project